Know which posts bring visitors
How to track website traffic from X/Twitter
A post gets likes, your website gets a few visits, and you still cannot tell whether the two are connected. Give each link a clear label so you can see what happens after someone leaves X.
See which visits lead to signups
To track website traffic from X/Twitter, add UTM tags to the links you share, check those campaigns in your website analytics, and measure a completed action such as an account signup. Compare that report with the posts that sent people there.
You can then make a useful distinction: a post may struggle to earn clicks, or it may bring visitors who leave without signing up. Those problems call for different changes. Writing a stronger opening will not fix a broken signup form.
This guide covers organic posts and profile links. You need access to your own website analytics; the examples use Google Analytics 4 (GA4).
Keep impressions, link clicks, and signups separate
| Signal | What it helps you examine | What it does not establish |
|---|---|---|
| Post impressions | Exposure on X | Visits to your website |
| Profile clicks | Interest in your account | Clicks on your bio link |
| URL clicks | Click activity on a post's links | Completed website sessions or signups |
| Website sessions | Recorded visits grouped by your analytics tool | A unique person for every visit |
| Completed signups | The action you wanted on your site | Every earlier post that influenced the decision |
X reports URL clicks separately from profile clicks. These private metrics require access to your own account and may not be available for every post or period. Check the official X metrics definitions before treating a missing value as zero.
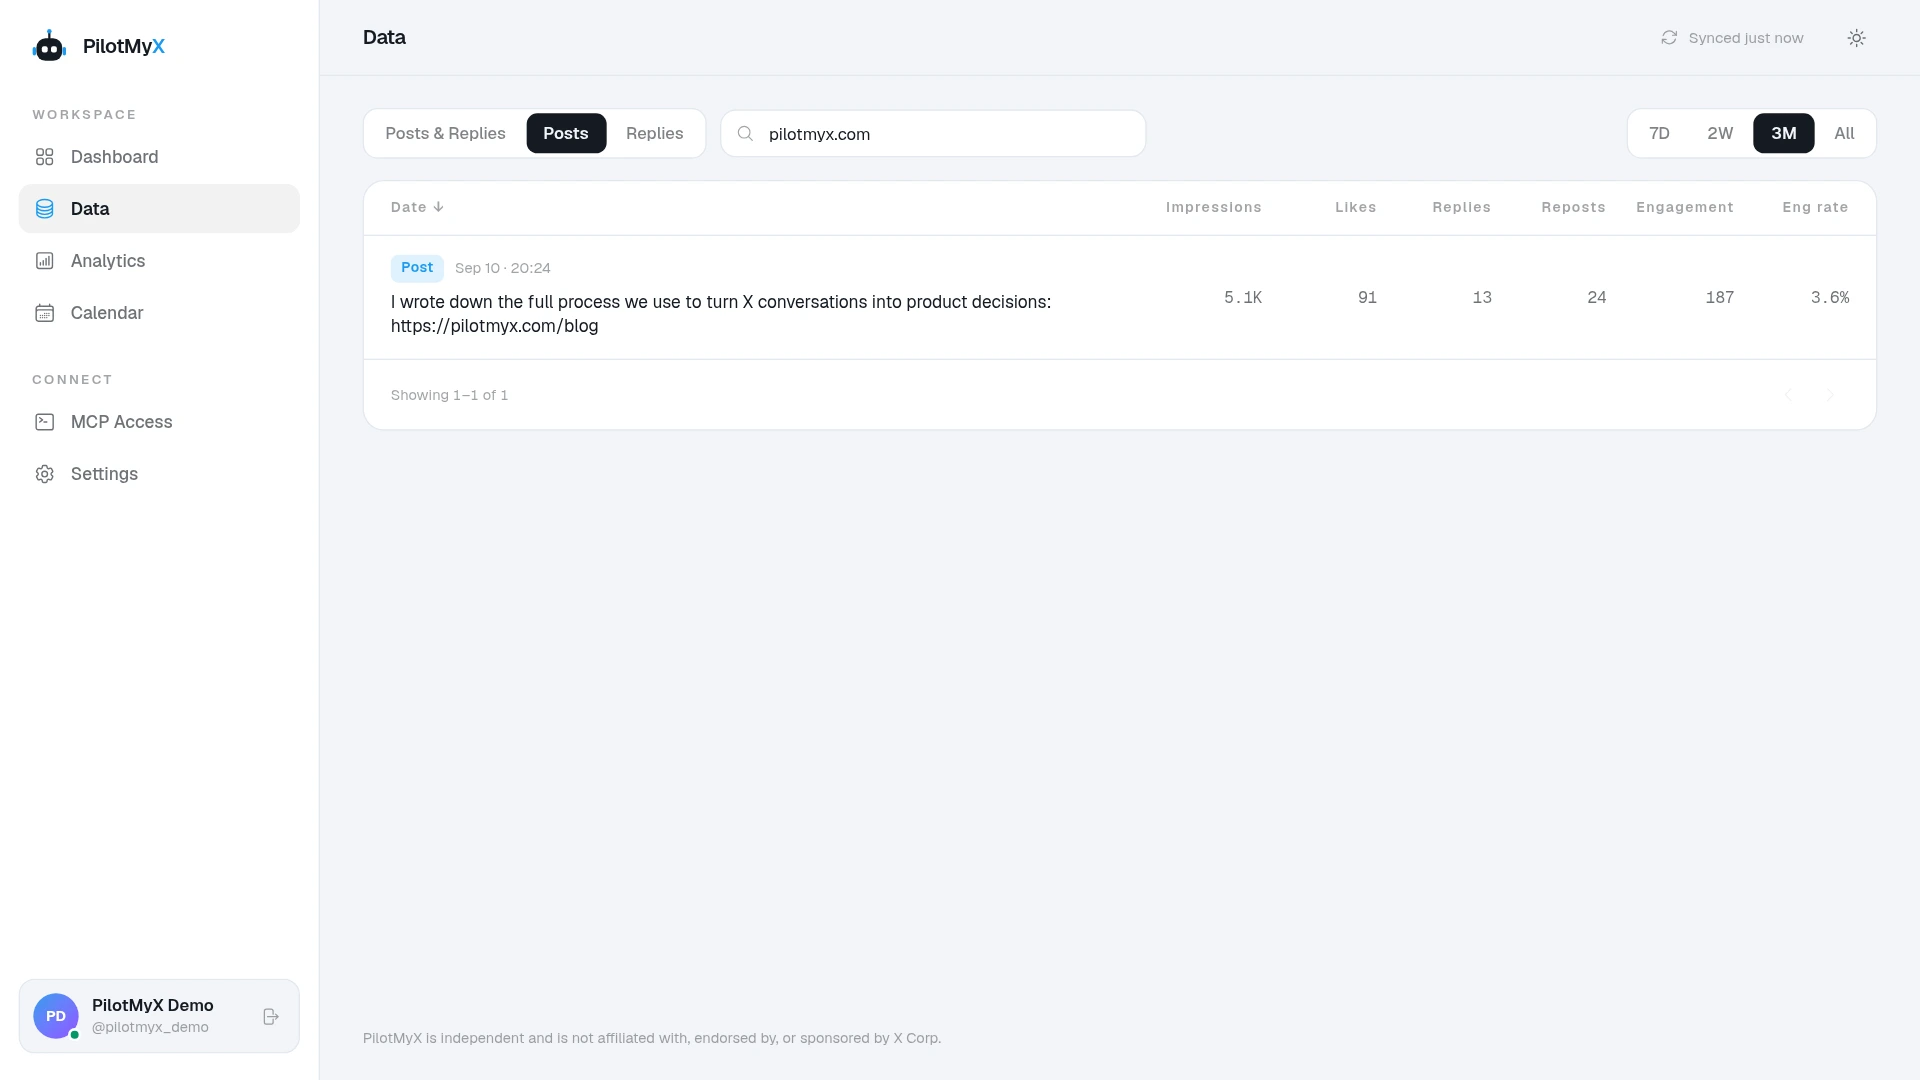
PilotMyX lets you examine your posts alongside their available impressions, profile visits, and URL clicks. A post's URL click total does not tell you which destination won if it contains several links. Use your website analytics to see what visitors did after arriving, and keep the two reports' counting rules in view.
Give each shared link a useful label
UTM parameters are labels added to a destination URL. Keep the naming scheme small enough that you will still use it next month.
| Parameter | Example value | Purpose |
|---|---|---|
utm_source | twitter | The platform |
utm_medium | social | Organic social traffic |
utm_campaign | september_guide | The campaign you are reviewing |
utm_content | post_20260908_a | The particular link placement |
For an example site, the full link would be:
https://example.com/guide?utm_source=twitter&utm_medium=social&utm_campaign=september_guide&utm_content=post_20260908_a
Replace the domain, destination, and campaign with your own. If the URL already contains a query string, append the tags with & instead of adding another ?.
Use one source name consistently: switching between twitter, Twitter, and x splits the labels. Google documents the parameters and their case-sensitive values in its campaign URL guide.
Keep a small record of where each URL goes. For the same campaign, you might use profile_bio for the bio link, pinned_post for the pinned post, and a dated identifier for each new post. Save the published post URL next to that identifier so you can read the copy when you review results.
Do not put a person's name, email address, or other private information in a tag. These labels are part of a public URL.
Test the destination and the signup event
Open the tagged link on your phone before sharing it. Check that it reaches the promised page and that any redirects preserve the campaign parameters. X processes shared links through its t.co link service, so also check the destination from the published post when it is live.
Next, complete a test signup. The event should represent successful account creation, not a tap on a button that might lead to an error. Confirm it does not fire again just because you reload a confirmation page.
In GA4, collect that event and mark it as a key event so you can use it to evaluate traffic sources. Google's key event instructions explain the distinction: marking an event does not create the underlying measurement.
Use Realtime or DebugView to check collection. Standard reports can take 24–48 hours to process data, according to Google's collection checks. Record your test activity so you do not mistake it for a new customer.
Read the campaign in GA4
Once data has processed, open the Traffic acquisition report. Use Session source / medium to find your twitter / social traffic, then examine the campaign you tagged. Look at sessions alongside the key event for completed signups, rather than adding up every key event on the site.
This report includes new and returning visitors. It answers a different question from User acquisition, which focuses on how users first arrived. Google's Traffic acquisition documentation explains the report's session scope.
To separate the individual links, use Session manual ad content, the dimension populated by utm_content. Add it in a compatible report or exploration. Despite the word "ad," the parameter can label your manually tagged organic links. See Google's traffic-source dimension mapping.
Keep the scope consistent while comparing placements. Someone can open more than one tagged link during a visit. Google explains that a new campaign value does not start a new session, so session rows will not show every click as a separate arrival. Do not read them as a record of every post that influenced a signup.
A bio click cannot identify the post that sent someone there
The bio link has one placement label even when visitors discover your profile through different posts or conversations. If profile_bio brings signups, you have evidence that the profile link helped people reach the site. You do not know which original post deserves the credit.
A dedicated tagged link in a post gives you a more specific reference. It still has a limit: someone can copy that URL into a message, newsletter, or another site with the tags intact. Treat the label as evidence about the link used, not proof that every visitor clicked inside X.
Keep this distinction when reading your PilotMyX results. Profile visits can help you choose which ideas deserve another post, but do not attach the bio's entire signup count to whichever post had the most impressions that week.
Use the gap to choose the next change
Review a consistent period, such as the last seven complete days, with the same timezone in both reports. Keep a post's current totals separate from website sessions recorded during that week; an older post has had longer to accumulate clicks.
| What you observe | What to investigate next |
|---|---|
| A post gets exposure but few URL clicks | Does the copy give the intended reader a reason to visit the destination? |
| X shows clicks but the site records few visits | Does the page load, do redirects retain tags, and does collection work on mobile? |
| Visitors arrive but rarely complete signup | Does the landing page fulfill the post's promise? Does the signup flow work? |
| A smaller post brings useful visits | Is its specific problem worth covering again for the same audience? |
| The bio link performs but individual posts are unclear | Keep the bio result separate and test a dedicated link in a relevant post |
These are checks to run, not diagnoses proved by a ratio. Clicks and sessions count different things, and visitors may leave before measurement, decline tracking, or return later. Do not try to force the numbers to match.
If you have only a few visits, inspect the path and collect more examples before declaring a winning format. Change one part you can explain. For example, keep the destination fixed and write a post that states the problem the guide solves instead of announcing that the guide exists.
Ask your agent for a decision, not a bigger report
With PilotMyX connected through MCP, your agent can review the X side of the comparison. Supply a separate, aggregated website report for the same dates. It should include campaign and placement labels, sessions, and the chosen signup measure, without personal visitor data.
If you have not connected an agent yet, follow the PilotMyX setup guide. Then adapt this prompt:
Help me decide what to change in the posts that send people to my site.

Use the last seven complete days in my account timezone. Review my
original posts in PilotMyX and keep any replies in a separate group.
Show the post URLs, publication dates, available impressions and URL
clicks, and the age and freshness of those metrics. Do not replace
missing metrics with zero.

I am providing an aggregated website report for the same dates,
plus a mapping between tagged links and published posts. Compare
the sessions and completed-signup measure for each placement.
Do not treat bio traffic as attributable to one post or combine
different measurement windows into a conversion rate.

Read the actual posts and identify one change worth testing.
Separate what the reports show from your interpretation.
Draft two options using only facts and claims I have supplied.
Keep the approved destination and its campaign tags intact.
Do not publish or schedule anything until I approve the text and time.
Choose the draft that gives the reader a clear reason to click and an accurate expectation of the page. Once you approve it, place it in the PilotMyX calendar and record its tag next to the test you chose.
At the next review, open that post and its website results together. Check whether the new wording brought visitors who used the page, then decide whether that idea deserves another post.
Use your own account